Saturday 3 July 2010

Carpeting, storage, LEDs, and glue. Lots of glue.

After a two month hiatus for exams, Sundown is back 'on the road' to completion (sorry, I'm tired).

Lots of carpeting has happened since I last blogged. A lovely cockney chap called Mike from Go Carpets (http://www.gocarpets.co.uk/) allowed me to rummage around in his basement, as it were, and gave me a load of old rolls of carpets for a 'cut me own throat gov'nor' price.

Firstly there was the bamboo weave-type stuff, with which I've done the front driver and passenger foot wells.


Then there's the stripy stuff which I really like, and am doing all the walls (bottom half) with. Totally down with the stripes at the moment, don't know why, maybe because they're slimming.

From this view you can also see the back shelf, also carpeted. From tomorrow I'm going to be building some storage in that back left hand (right as you look at it) corner, which will incorporate, a wardrobe, kitchen cupboards, and utensil drawers, then around the back, in the same unit, will be shelves for the bits and bobs you need when campervanning: wire, fuses, gas bottle, water tank, cocaine, bucket and spade, deck chair, ....hmmm?

Also carpeted the front shelf today and fitted the new LED bulbs.


I did have some 50w spot lights in these sockets (and the other 3 sockets in the rest of the van) but they a) set fire to our retinas every time they were turned on, b) announced our presence to anyone within 50 miles when we were trying to sneakily camp in cheeky beach-side spots, and c) used a lot of power, 50w to be precise, which was a lot to take from the leisure battery. These LEDs cost £1.50 on eBay (from Hong Kong, delivery - 0.99) they're 21 LED which gives you enough light to do stuff, and read by, they only use 1w of power, last for up to 50,000 hours (normal bulbs are about 900), and they run cool which is great because the 50w bulbs could have set fire to a damp extinguisher.

The big news from today is carpeting the ceiling which was a horrible nightmare and involved me swearing and shouting at pots of glue and paintbrushes, while my girlfriend stoically stood bent double holding the carpet up with her back while the glue dried. Horrendous. Would never do it again. Nevertheless, it turned out alright. Big thanks to Diamond Millenium Carpets (http://www.diamondcarpets.co.uk/) for giving me half a massive bucket of glue at cost price.


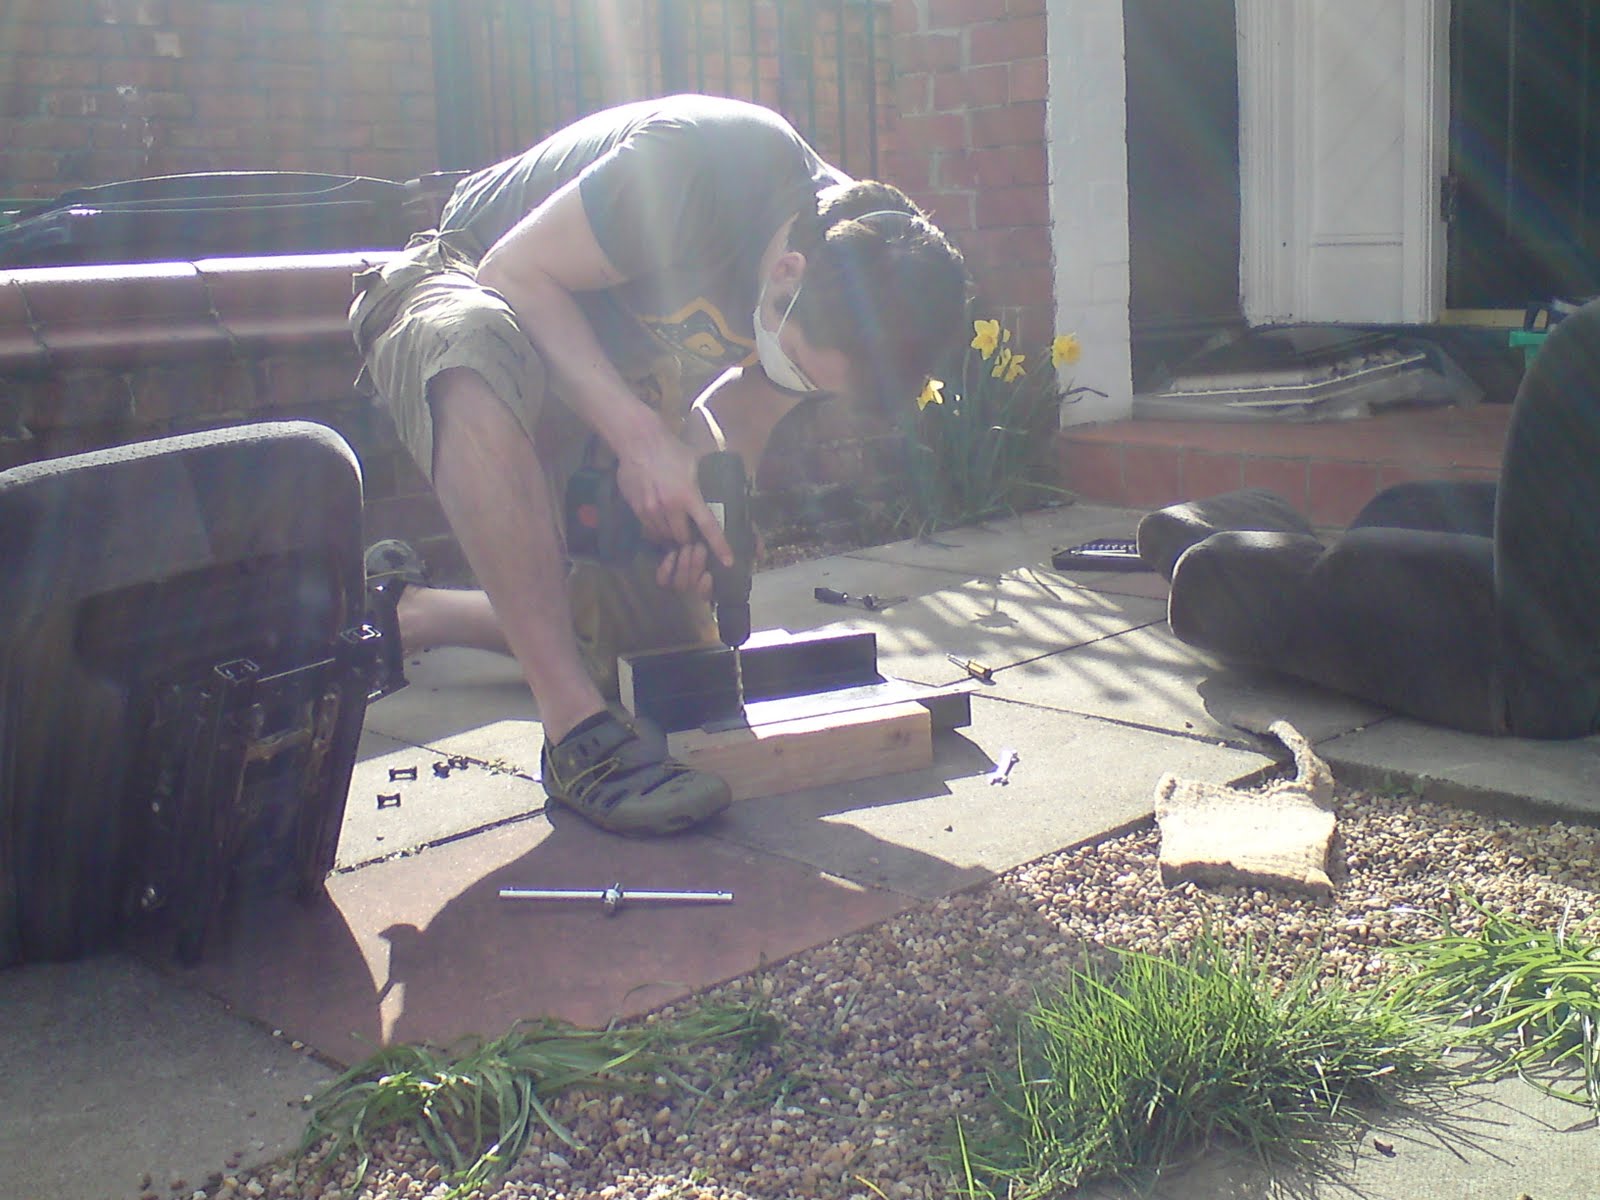
I've also been building some boxes for storage under the bed. As you'll no doubt remember from my earlier posts, the point of building the fiendishly clever sliding double bed...


...was to conserve storage space underneath. So, yeah.....tadaa!


These were made from more recycled wood from TRiM and the fronts from the left over teak laminate flooring.

So, a little more carpeting tomorrow. Actually quite a bit more. Then the next priority is some work on the mechanical workings of the bus. Now, I know my way around a jigsaw, but what the hell all that stuff under the bonnet is, is anybody's guess. Looks like Optimus Prime's bowels. Anyway, the steering on the bus is a bit, shall we say 'wandery' on the motorway so, as I understand it from the manual, I need to do something with the power steering box (what? did it come in a box?) and pump grease into the king pins (that's GOT to be a joke. Apparently not.) Wish me luck.

So after a 12 hour day, a just reward was at hand.


Then, as punishment for my naivety that there should be a reward, I'm off to it in the bath while my girlfriend cuts the glue out my hair.

Until next time... (which will probably be tomorrow so the air of mystique lent by the 3 dots is redundant).

ENDS.


Wednesday 5 May 2010

The Zig is back! (And more boredom....I mean boarding)

Can't remember whether I mentioned that the Zig I bought from ebay was slightly broken. It worked on batteries but not on 240v. The incredibly nice man at Zig told me to send it to him, he fixed it, then sent it back, gratis. What a nice chap, who I won't name in case my extensive readership includes a member of Zig.

So here it is. It's wired to a voltmeter and ammeter on the right to keep track of charge. It's bad news to let a leisure battery (deep cycle) run flat, so I hope this will help me not do that.


I've mainly been wiring things lately. These two spot lights turn on when the ipsilateral door is opened and with some cool aeroplane-type lever switches at the front.


So this is the state of play at the moment. Most of the boarding has been done, just need to do the window surrounds. Spot lights under the shelf on the right of the van. The electrics are pretty much all done, just need another couple of spot lights at the back (over the cooking area) and a supply to the water pump.


The maiden voyage is this weekend. To Dartmouth Music Festival to see, among others, this amazing singer-songwriter called Larry The News Guy (http://www.larrythenewsguy.com/Larry/Hello.html). Before leaving I'll bolt the bed in, and carpet the front.

I have this recurring day-mare that we'll appear back in Manchester 6 hours after setting off, on the back of an AA truck.....

Saturday 1 May 2010

More electrical stuff, insulation, boarding...

Installing the external 240v socket. Scary stuff cutting a hole in the side of the van. The mains goes to a consumer unit which then supplies 240v sockets and the Zig unit (which converts 240v to 12v for lights, sockets, water pump, heater etc.)


The external socket installed! I now have power in the van. Which is useful. For electrical things.


Next, insulation. Double foil / air bubble stuff. Expensive but very easy to use and keeps warmth in in Winter, and out in Summer.


And finally, got some boarding from 'Timber Recycling in Manchester' (TRiM). For those not in the know, this company picks up wood from building sites, pulls all the nails and stuff out of it, then sells it to the general public at a fraction of the price of timber from a merchant. For instance, these 6mm ply boards were £3 each, instead of £15 from B&Q or around £8 from a timber merchant. Bargain! They also build garden furniture out of the recycled wood, check them out: http://www.timberrecycling.org/

Not the most interesting of blogs this one, granted. So here, for your enjoyment, are my cats. That's entertainment!


Monday 19 April 2010

Electrical success, insulation, and progress with the bed/seat.


I managed to rope my Dad in this past weekend to help me install the electrical stuff in the van. In a nutshell we:


  • Installed the leisure battery (it went into a nook right next to the main battery above the left wheel arch perfectly...oooh it felt good)
  • Installed the Zig unit (temporarily. I need to actually build its permanent home at some point).
  • Wired the main battery and leisure battery to the Zig. It will charge both when driving or hooked up to 240v (via the external socket which I've yet to install) but only draw from the leisure battery when 'on site' though the main battery can also be used in a tight spot with the flick of a switch. Now I'll simply wire up some spot lights, switches, 12v cigar sockets, and fridge to the multiple 12v outputs at the back of the Zig (at least that's the plan. Perhaps using the term 'simply' is tempting fate). The 240v hookup is wired via a 'consumer unit' (circuit breaker box to you and me) and this then supplies the zig and the 240v sockets.
  • In summary then, the zig allows split charging of the main and leisure batteries when driving. Selection of which battery to draw from is via a switch on the front. Mains, when connected, will supply everything (transformer in zig) and charge the batteries.
The bed has been coming along well and is now beginning to take shape:


The girlfriend and step-Mum where employed in sanding and teak-oiling the bed, whilst we played with the electrics.

And a fine job they did!


A few little design mods are needed to ensure smooth running of the bed but it's pretty much there. This is obviously a bit experimental and I would comment so far that although soft wood is light and easy to work, it may not last a huge amount of time. I'm going to sure up the joins with metal 'L' pieces which hopefully will add to it's longevity. The below pic shows the base part (on the left) and the first of the sliders on the right. The 2nd slider will take the bed to it's full 195cm length (double bed size). I've done it this way, a) to try to conserve storage space underneath as it's only a small van, and b) so that we could have a full sized bed. We figured that the thing you do most in a camper is sleep so we decided to have a good size bed, I guess it's a personal choice.


The bed packs up into a 70cm long 130cm wide seat. The whole thing uses a futon cushion. So the first full incarnation is left without the back rest at the moment, so it looks a bit saggy.

This pic also shows the start of the insulation going in. This has been a bit of a headache because I thought originally I would put fibreglass in with some heavy duty polythene vapour barrier and silicone sealant to keep the dangerous glass fibres at bay. I was never comfortable with this though - it's alright for a house because its never disturbed but on a vehicle when it's being bumped around frequently.... So I was delighted to find B&Q selling plastic fibre insulation which has no floating fibres at all, is easy to work with, cheap, and feels very warm. So we started putting that in yesterday with a semi-permeable vapour barrier to keep moisture away from metal.

Next moves are going to be: 3 way fridge installation (works on 240v, 12v and gas) acquired from ebay a few days ago; 240v external and internal sockets installation (involves cutting a hole in the side of the van - eek); ply-board ceiling and walls and carpeting the whole lot; installation of 12v spot lamps and cool lever switches; storage units installation (the inside of the van is all strange angles so that's probably not going to be fun).

Oh and as we had the first rain today in a while, the van has, of course, leaked at the front. Going to have to basically cover the area under the windcreen with an elastic filler of some sort. Whoopdeedoo!

Tuesday 13 April 2010

A new floor!

An unexpected half day off today gave the me the opportunity to get the floor down. From the bottom up, it's polythene sheet, wool fibre insulation, high-density board (6mm), more wool fibre insulation, semi permeable vapour barrier, and a 'teak' laminate floor. Possibly a bit of overkill but it should form a good solid base to screw everything to.

Sunday 11 April 2010

Bucket seats, terrible fibreglass, and freebies..

I picked up the seats, as advertised, and the very nice chap knocked 10 quid off for a missing lever (should be fairly straight forward to replace), and threw in a sky-light window, a water pump, a circuit-breaker box, and an external socket! (Yay!)


Got the seats in ok. Well, actually just one of the seats so far, and it took some not inconsiderable time, as I had to turn the plates around and re-drill them to fit. The drivers seat went in very well though so I'm quietly confident about the passenger seat. I've given up on the idea of fitting swivels. These aren't particularly big seats but I'm pretty confident that there wouldn't be enough room to turn them around. Next stop for the front and is to try to sort out those nigglesome leaks, then carpet...

Tried to put some of the fibreglass insulation today and gave up when after 5 minutes it felt like I had been molested by a million midges. Midges that mainly bite eyeballs. And wrists. Horrible stuff, but good for keeping warm air in. I'll have another go with full environment suit on next time (i.e. long sleeves, gaffer tape, rubber gloves, and goggles).

Saturday 10 April 2010

Insulation, wood, flooring and other bits and bobs...

This week, I have been mainly on holiday in the Scottish Highlands and not working on the camper. However, the somewhat brisk and relentlessly damp weather spurred me on to ever more dizzying heights of inspiration: a sink and a fold out chopping board to name but one. But I digress.

Over the last couple of weeks I've been gathering bits and bobs for the build as the slow realisation has dawned on me that it's difficult to plan anything inside the van without knowing what the whole thing is going to look like at the end, complete with the actual materials I plan to use. I'm using recycled timber and 2nd hand everything else so without actually having all the kit, it's kind of difficult to measure up and figure it all out.


So here we have my collection so far: some wooden batons, some floor insulation and a huge sack of fibreglass insulation from my new best mate 'Kellay' the builder from down the road (who turned up one day while I was sitting in the van in deep, meditative contemplation over kitchen units, and proceeded to tell me in no uncertain terms what he thought of my [rubbish] plans, and his rather more excellent ones. He did, however, turn out to be a diamond of a guy who lends me tools and gives me stuff, and who is now cycling down the coast of Guatemala for 6 weeks for some reason...).

Next are the packs of teak laminate flooring found on freecycle - enough to do the floor and drawer fronts, and finally the roof insulation which I admit to buying from B&Q because it needed to be lightweight and easy to stick to the roof, both of which this is. Not to mention cheap.

I'm particularly excited this evening as I'm going to pick up my new (2nd hand) 'Captain's Seats' tomorrow from Huddersfield. Found them on ebay, bid £70 for them, but because no one bid against me they didn't reach the reserve. The chap then called me and asked me very nicely to take them out of his garden shed for £50! Back of the net.

Also winging it's way to me is my new (2nd hand) Zig unit. A CF9B which I'm hoping is going to be the answer to all my electrical-related prayers (as you can see I categorize my prayers into major functional sections to minimise chances of doing something for which I may, some day, posthumously, pick up the Darwin award). The Zig is another ebay success story, (or failure depending on whether you're me or the seller). The seller's conscientious approach to her listing (adding the B on the end of CF9 which simply refers to the faceplate being gold instead of silver) excluded it from the search results of most people looking for the more commonly known "CF9". Jackpot. Top tip here for ebayers not yet in the know is to search slight spelling errors or different permutations of model numbers to get a good deal from those unfortunate souls who don't quite get the search terms right.

So finally, I'll be visiting caravan breakers in the coming weeks to pick up a 3-way fridge, a skylight window, sink, water tank, electrical sockets, etc etc, then the timber yard to get some boarding to line the inside.

One final thing, I've started work on my bed, which has become ridiculously over complicated and involves sliding bits and latches and glue and screws and blood and sweat and swearing, and in the end will probably end up in a blazing heap in my garden, while I, the quivering heap next to it, frantically search for a second hand rock and roll. Time will tell. Anyway, here it is so far. Can you tell what it is yet?

(Yes because I just told you).